Documentation
Documentation
Firebase Auth Quickstart
Getting Started
Google Sign In Setup
- Go to the Firebase Console and navigate to your project:
- Select the Auth panel and then click the Sign In Method tab.
- Click Google and turn on the Enable switch, then click Save.
- Run the sample app on your device or emulator.
- Select GoogleSignInActivity from the main screen.
- Click the Sign In button to begin.
Facebook Login Setup
- Go to the Meta for Developers Site and follow all
instructions to set up a new Android app.
- When asked for a package name, use
com.google.firebase.quickstart.auth. - When asked for a main class name,
use
com.google.firebase.quickstart.auth.kotlin.MainActivity.
- When asked for a package name, use
- Go to the Firebase Console and navigate to your project:
- Select the Auth panel and then click the Sign In Method tab.
- Click Facebook and turn on the Enable switch, then click Save.
- Enter your Facebook App Id and App Secret and click Save.
- Open the file
app/src/main/res/values/ids.xmland replace the values offacebook_app_idandfacebook_client_tokenwith the ID of the Facebook app you just created and the client token respectively. - Run the app on your device or emulator.
- Select the FacebookLoginFragment from the main screen.
- Click the Sign In button to begin.
- If you see text that says Facebook is disabled, make sure you are running either the facebookDebug or facebookRelease variants of this sample.
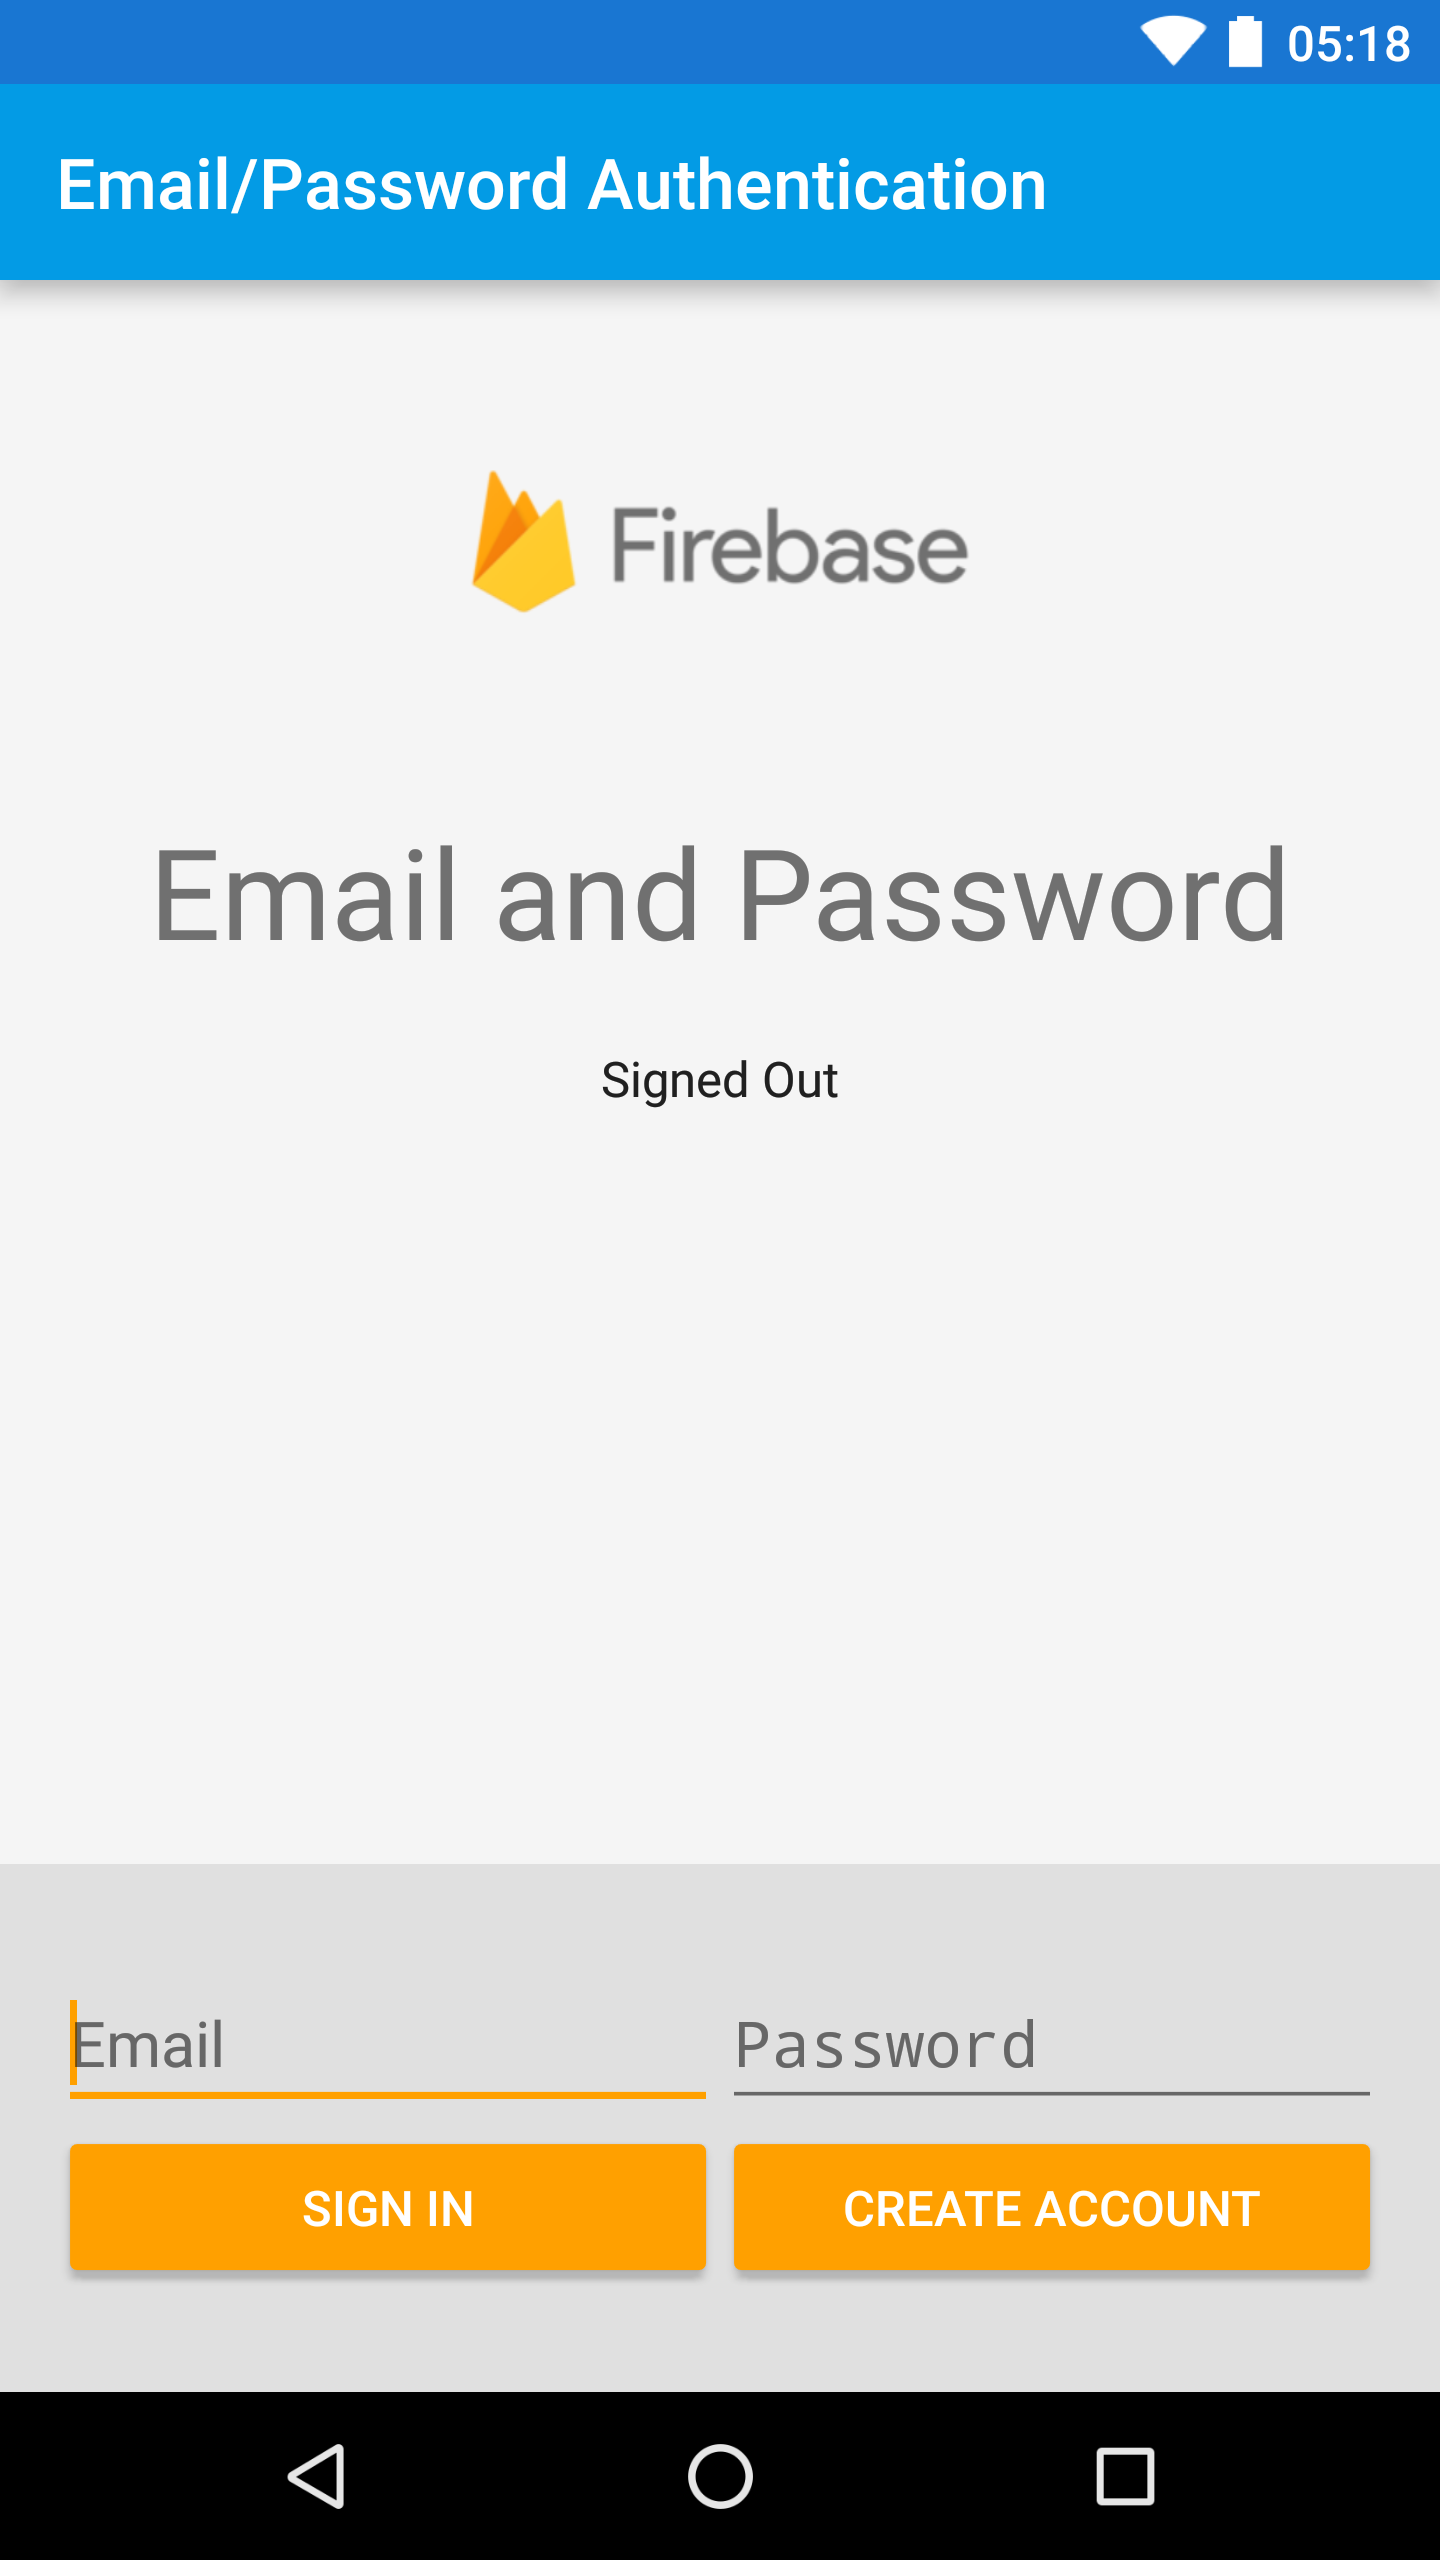
Email/Password Setup
- Go to the Firebase Console and navigate to your project:
- Select the Auth panel and then click the Sign In Method tab.
- Click Email/Password and turn on the Enable switch, then click Save.
- Under Authorized Domains click Add Domain and add
auth.example.com.
- Run the app on your device or emulator.
- Select EmailPasswordActivity from the main screen.
- Fill in your desired email and password and click Create Account to begin.
Passwordless Setup
- Go to the Firebase Console and navigate to your project:
- Select the Auth panel and then click the Sign In Method tab.
- Click Email/Password and turn on the Enable switch.
- Turn on the Email Link (passwordless sign-in) switch, then click Save.
- Replace your-project-id in the AndroidManifest.xml file with your project ID.
- Run the app on your device or emulator.
- Select PasswordlessActivity from the main screen.
- Fill in your desired email and click Send Link to begin.
Phone Authentication Setup
- Go to the Firebase Console and navigate to your project:
- Select the Auth panel and then click the Sign In Method tab.
- Click Phone and turn on the Enable switch, then click Save.
- Run the app on your physical device:
- Select PhoneAuthActivity from the main screen.
- Enter your phone number and click Verify to begin.
Custom Authentication Setup
- Go to the Google Developers Console and navigate to your project:
- Click on the Service accounts tab in the left.
- Click on the Create Service Account on the top.
- Enter desired service account name and click on the Create button.
- Once the service account is created, click on the Options.
- Choose JSON as the key type then click on the Create button.
- You should now have a new JSON file for your service account in your Downloads directory.
- Open the file
web/auth.htmlusing your web browser.- Click Choose File and upload the JSON file you just downloaded.
- Enter any User ID and click Generate.
- Copy the text from the ADB Command section. This will be required later on.
- Run the Android application on your Android device or emulator.
- Select CustomAuthActivity from the main screen.
- Run the text copied from the ADB Command section of the web page in the steps above. This will update the Custom Token field of the running app.
- Click Sign In to sign in to Firebase User Management with the generated JWT. You should see the User ID you entered when generating the token.
Generic OAuth Sign In (Microsoft, Apple, Yahoo, Twitter, etc)
Microsoft
- Follow the instructions to enable Microsoft authentication in the Firebase console.
- Run the Android application on your Android device or emulator.
- Select GenericIdpActivity from the main screen.
- Select Microsoft in the dropdown.
- Hit the sign in button and proceed through the login flow.
Apple
- Follow the instructions to enable Apple authentication in the Firebase console.
- Run the Android application on your Android device or emulator.
- Select GenericIdpActivity from the main screen.
- Select Apple in the dropdown.
- Hit the sign in button and proceed through the login flow.
Yahoo
- Follow the instructions to enable Yahoo authentication in the Firebase console.
- Run the Android application on your Android device or emulator.
- Select GenericIdpActivity from the main screen.
- Select Yahoo in the dropdown.
- Hit the sign in button and proceed through the login flow.
- Follow the instructions to enable Twitter authentication in the Firebase console.
- Run the Android application on your Android device or emulator.
- Select GenericIdpActivity from the main screen.
- Select Twitter in the dropdown.
- Hit the sign in button and proceed through the login flow.
Multi Factor Authentication
Note: Multi Factor authentication only works for apps using Google Cloud Identity Platform, a paid service. If you are only using Firebase Authentication this sample will not work for you.
- Run the app on your physical device (emulators will not work)
- Select MultiFactorAuthActivity from the main screen.
- Sign in (if necessary).
- Verify your email (if necessary).
- Hit Enroll MFA to begin enrolling an SMS second factor.
Result
Support
License
Copyright 2020 Google, Inc.
Licensed to the Apache Software Foundation (ASF) under one or more contributor license agreements. See the NOTICE file distributed with this work for additional information regarding copyright ownership. The ASF licenses this file to you under the Apache License, Version 2.0 (the "License"); you may not use this file except in compliance with the License. You may obtain a copy of the License at
http://www.apache.org/licenses/LICENSE-2.0
Unless required by applicable law or agreed to in writing, software distributed under the License is distributed on an "AS IS" BASIS, WITHOUT WARRANTIES OR CONDITIONS OF ANY KIND, either express or implied. See the License for the specific language governing permissions and limitations under the License.